
I recently tried 8ksec.io’s mobile CTF and came across an interesting Flutter-based Android challenge called FactsDroid. The goal was straightforward: intercept HTTPS traffic from the application. But as I soon discovered, this required bypassing both root detection and TLS certificate verification - two common security mechanisms in mobile apps.
Let me walk you through my approach and how I eventually got it working.
Starting Point
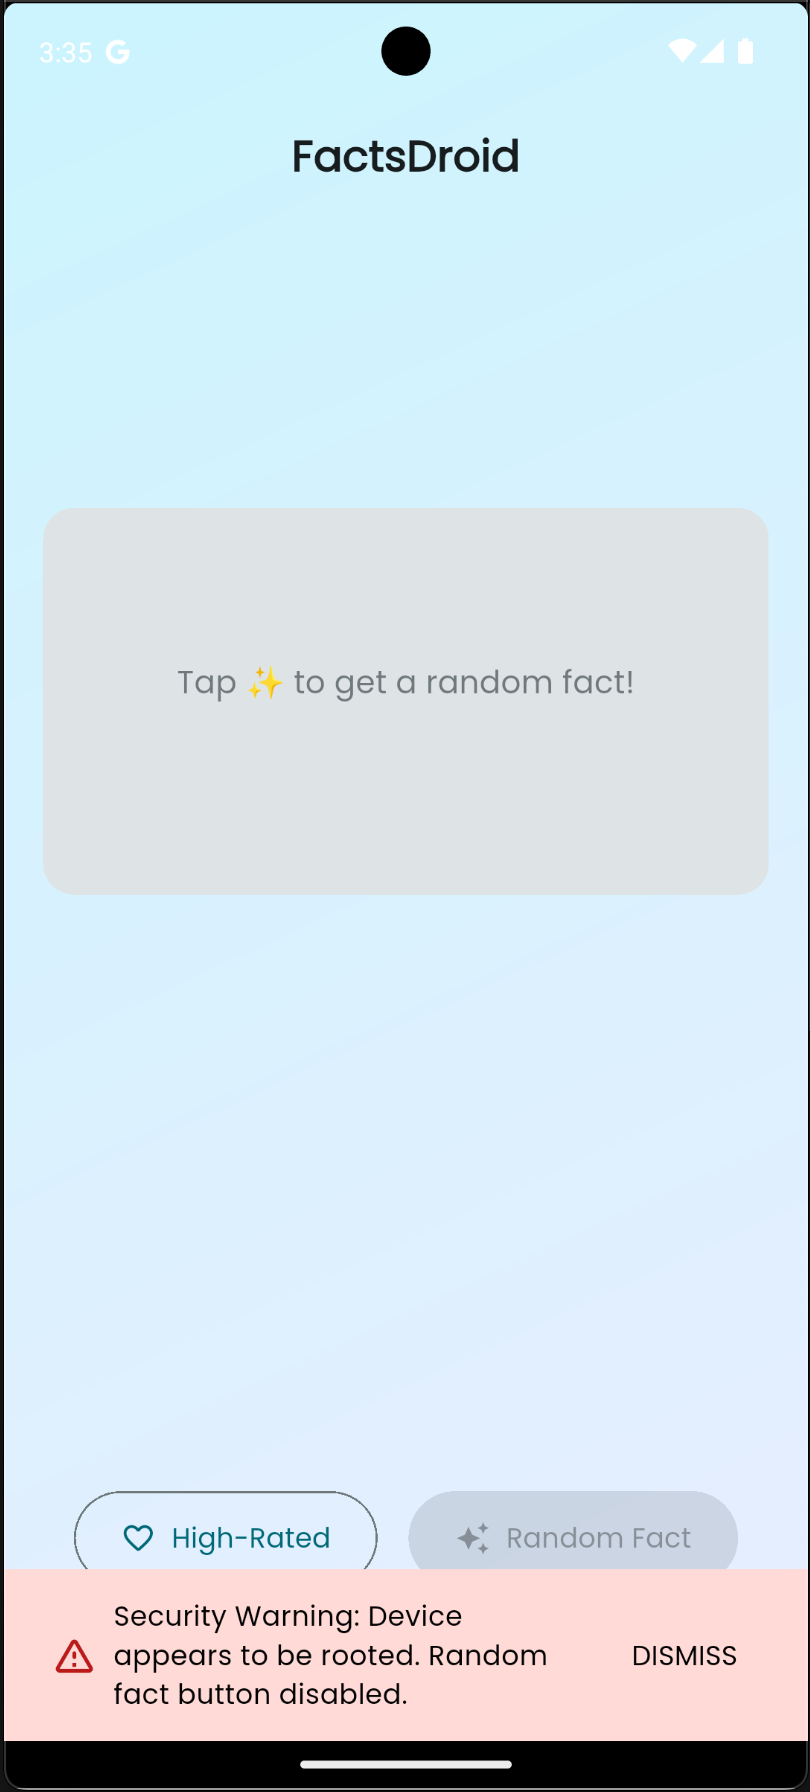
The challenge provided a single APK file: FactsDroid.apk. My first step was to understand what we’re dealing with. I installed it on my emulator and tried to run it, but the app immediately detected that my device was rooted and refused to work. Classic root detection blocking dynamic analysis.
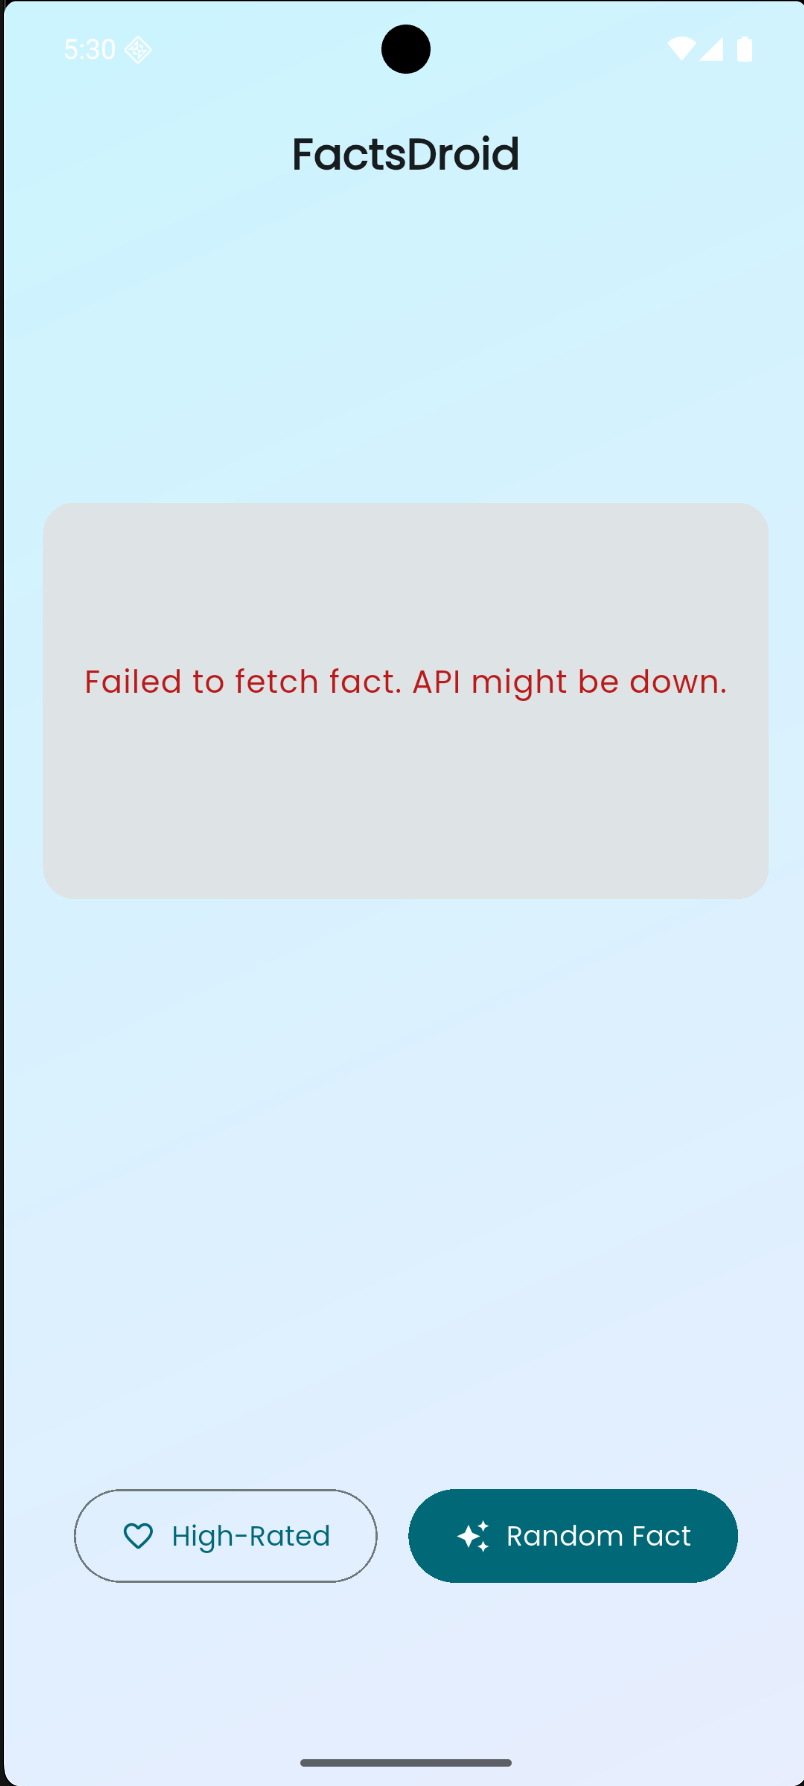
I also tried setting up a proxy to intercept traffic, but all HTTPS requests were failing with certificate errors. Flutter apps use BoringSSL which validates certificates strictly, so without bypassing this, interception was impossible.
So I had two problems to solve:
- Bypass root detection so the app would run
- Bypass TLS verification so I could intercept HTTPS traffic
Static Analysis
Let’s start by decompiling the APK to understand its structure. I used jadx to decompile it:
jadx -d decompiled-apk FactsDroid.apkThe app is a Flutter application, which means most of the logic is in Dart (compiled to native), but there’s some platform-specific Java code for Android integration.
Looking at the decompiled code, I found the MainActivity class:
package com.eightksec.factsdroid;
import G.AbstractActivityC0004e;
public final class MainActivity extends AbstractActivityC0004e { public static final int f502g = 0; public final String f503f = "com.eightksec.factsdroid/root_check";}That "com.eightksec.factsdroid/root_check" string immediately caught my attention - this is clearly a Flutter method channel name for root detection.
Digging deeper, I found the actual root detection implementation in B.a.g() method. This method handles method channel calls from Flutter. When Flutter calls isDeviceRooted, it triggers this Java method which performs multiple checks:
- Checks
Build.TAGSfor “test-keys” - Looks for common su binary paths like
/system/bin/su,/system/xbin/su, etc. - Checks
ro.debuggablesystem property - Tries executing the “su” command directly
The flow is:
Flutter App → Method Channel "isDeviceRooted" → B.a.g() → Root checks → Returns booleanNow I understood the architecture. Time to bypass it.
Dynamic Analysis with Frida
Frida is perfect for this. I needed to hook the B.a.g() method and make it return false when isDeviceRooted is called, regardless of whether the device is actually rooted.
Here’s the hook I wrote:
if (Java.available) { Java.perform(function() { console.log("[*] Starting Frida hook for B.a.g()...");
try { const B_a = Java.use("B.a"); const original_g = B_a.g;
B_a.g.implementation = function(aVar, jVar) { console.log("[*] B.a.g() called!");
let methodName = null; try { const f4cValue = aVar.f4c; if (f4cValue !== null && f4cValue !== undefined) { methodName = f4cValue.toString(); console.log("[*] Method name: " + methodName); } } catch (e) { console.log("[!] Error getting method name: " + e); }
if (methodName === "isDeviceRooted") { console.log("[*] Intercepting isDeviceRooted call!"); console.log("[*] Bypassing root detection - returning false"); const Boolean = Java.use("java.lang.Boolean"); jVar.c(Boolean.$new(false)); return; }
console.log("[*] Calling original implementation for: " + methodName); return; };
console.log("[+] Successfully hooked B.a.g()"); } catch (e) { console.log("[!] Error hooking B.a.g(): " + e); } });}And this script is bypassing the root detection check in this app.
The key part is extracting the method name from aVar.f4c and checking if it’s "isDeviceRooted". When it is, I use jVar.c(Boolean.$new(false)) to set the callback result to false, effectively telling the app the device is not rooted.
But this only solves half the problem. I still needed to bypass TLS verification to intercept HTTPS traffic.
Bypassing TLS Verification
Flutter apps use BoringSSL for TLS, and they validate certificates strictly. Even with a proxy certificate installed, the app would reject it. I needed to patch the ssl_verify_peer_cert function in memory to always return success.
I used a modified version of NVISOsecurity’s disable-flutter-tls-verification script. This script:
- Locates
libflutter.soin memory - Uses byte patterns to find
ssl_verify_peer_certfunction (different patterns for different architectures) - Patches it to always return 0 (certificate valid)
The script handles multiple architectures (arm64, arm, x64, x86) and uses pattern matching to locate the function reliably.
Putting It All Together
Now let’s run everything. First, I made sure frida-server was running on my device:
adb push frida-server /data/local/tmp/adb shell "chmod 755 /data/local/tmp/frida-server"adb shell "/data/local/tmp/frida-server &"Then I installed the app:
adb install FactsDroid.apkFinally, I launched the app with Frida and my hook script:
frida -U -f com.eightksec.factsdroid -l hook.jsThe output showed both hooks working:
[*] Starting Frida hook for B.a.g()...[+] Successfully hooked B.a.g()[+] Pattern version: May 19 2025[+] Arch: arm64[+] Platform: linux[+] Locating Flutter library 1/5[+] Flutter library located[+] Locating ssl_verify_peer_cert (1/5)[+] ssl_verify_peer_cert found at location: 0x...[+] ssl_verify_peer_cert has been patched[*] B.a.g() called![*] Method name: isDeviceRooted[*] Intercepting isDeviceRooted call![*] Bypassing root detection - returning falsePerfect! Both bypasses were active. The app launched successfully without detecting root, and TLS verification was disabled.
Setting Up Traffic Interception
Now I needed to set up a proxy to actually capture the traffic. I tried the standard approach first - setting up mitmproxy and configuring the device proxy settings.
I started mitmproxy:
mitmweb -p 8080# Web interface at http://127.0.0.1:8081Got my host machine’s IP address:
ifconfig | grep "inet " | grep -v 127.0.0.1# Example: 192.168.1.100And configured the Android device to use the proxy via ADB:
adb shell settings put global http_proxy 192.168.1.100:8080I installed the proxy’s CA certificate on the device by accessing http://mitm.it from the device browser, downloading the certificate, and installing it through Settings → Security → Install from storage (making sure to select “VPN and apps”).
But here’s the thing - it wasn’t working. The app wasn’t routing its traffic through the proxy. This is a common issue with some apps that don’t respect system proxy settings or have their own network configuration.
The iptables Workaround
Since the standard proxy approach wasn’t working, I had to use iptables to force redirect all traffic to my proxy. This is a more aggressive approach that intercepts traffic at the network level, bypassing the app’s proxy settings entirely.
Since I had root access on the device (and the app was already bypassed), I could use iptables directly on the Android device to redirect traffic. The key is to redirect all HTTP and HTTPS traffic to the proxy running on my host machine.
For an Android emulator, the host machine is accessible at 10.0.2.2. For a physical device, I’d use my actual host machine’s IP on the local network.
I set up iptables rules on the device to redirect traffic:
# Get host IP (10.0.2.2 for emulator, or your network IP for physical device)HOST_IP="10.0.2.2"PROXY_PORT="8080"
# Redirect HTTP traffic to proxyadb shell "su -c 'iptables -t nat -A OUTPUT -p tcp --dport 80 -j DNAT --to-destination ${HOST_IP}:${PROXY_PORT}'"
# Redirect HTTPS traffic to proxyadb shell "su -c 'iptables -t nat -A OUTPUT -p tcp --dport 443 -j DNAT --to-destination ${HOST_IP}:${PROXY_PORT}'"
This forces all HTTP/HTTPS traffic from the device to go through the proxy running on the host machine, regardless of whether the app respects system proxy settings. The iptables rules intercept the traffic at the network layer before it leaves the device.
Note: To remove these rules later, you can use:
adb shell "su -c 'iptables -t nat -F OUTPUT'"Success!
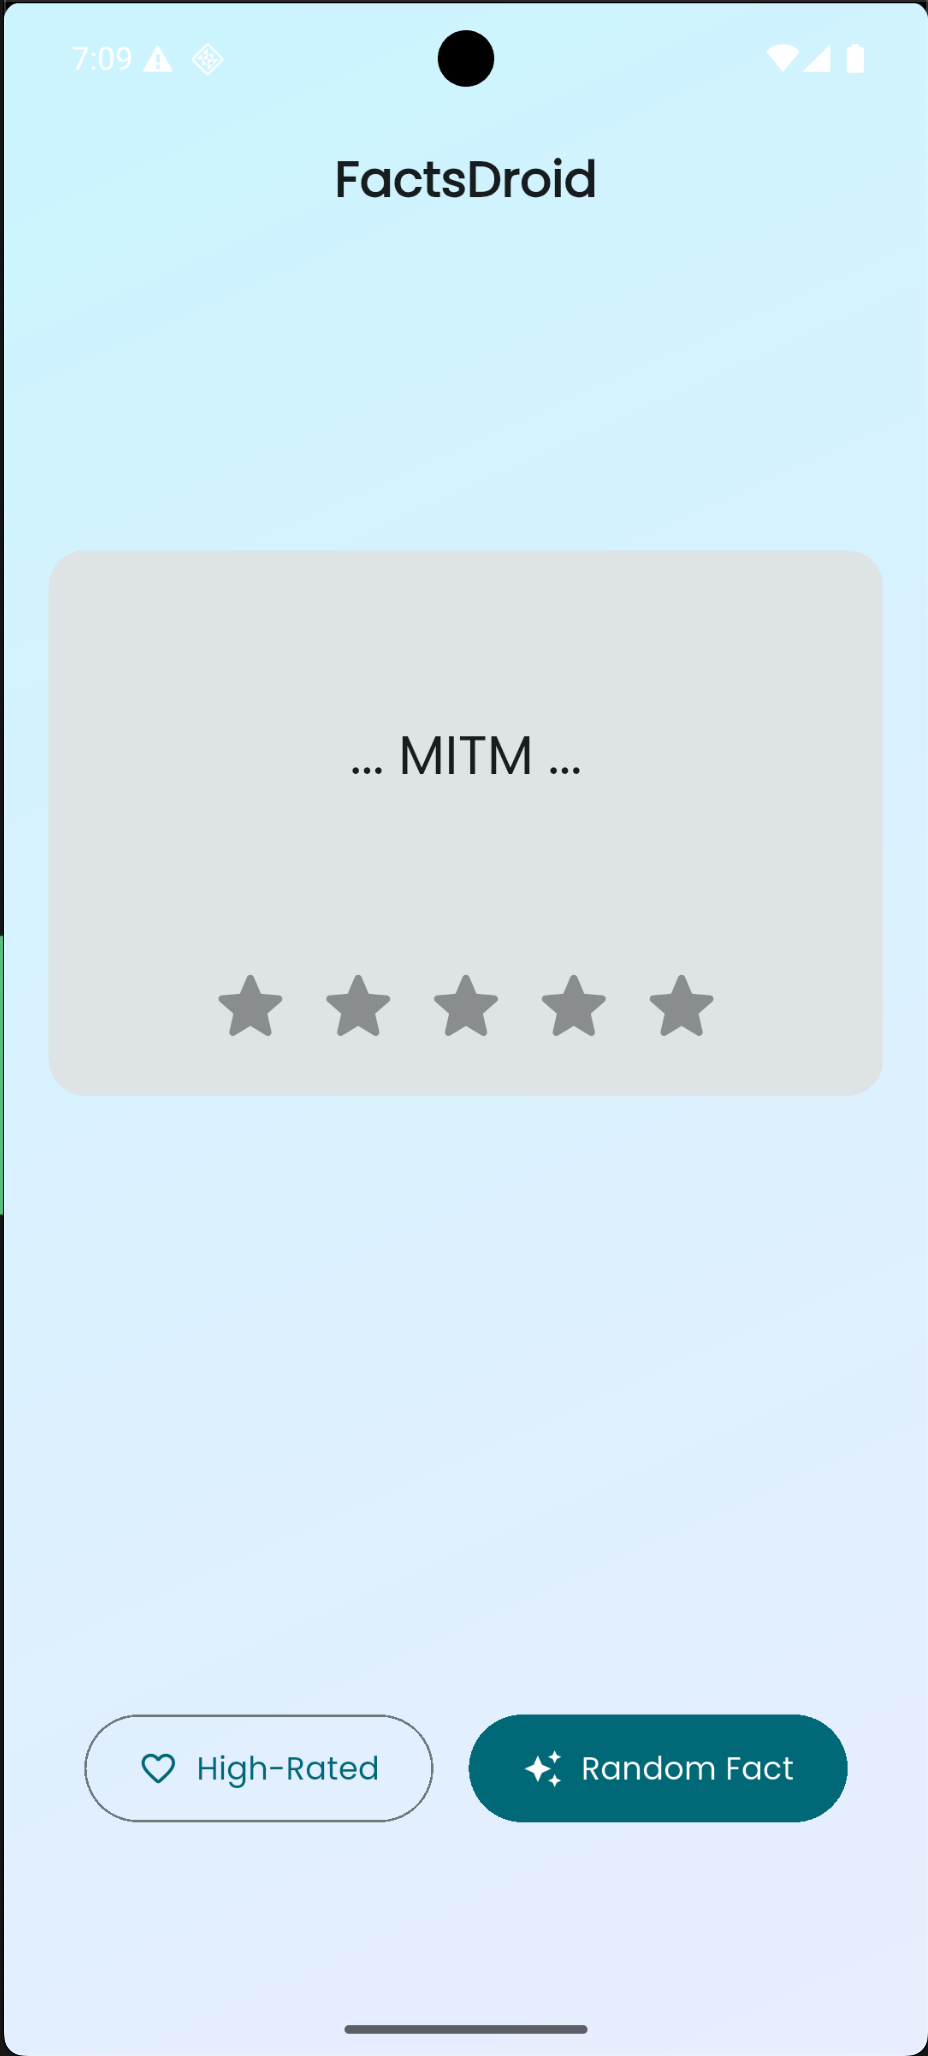
With the iptables rules in place, I triggered some network activity in the app. This time, opening mitmproxy’s web interface, I could finally see HTTPS requests appearing in plain text! The combination of TLS bypass (via Frida) and iptables redirection was working - the app was accepting the proxy’s certificate, and all traffic was being intercepted and decrypted.
I could now see:
- API endpoints being called
- Request headers and parameters
- Response data in plain text
- Authentication tokens or session data
The challenge was complete. I successfully:
- Bypassed root detection using Frida
- Disabled TLS certificate verification
- Intercepted and decrypted HTTPS traffic from the Flutter app
Key Takeaways
This challenge taught me several important concepts:
-
Flutter Method Channels: Understanding how Flutter communicates with native Android code through method channels is crucial for reverse engineering Flutter apps.
-
Root Detection Bypass: Many apps implement root detection to prevent analysis. Frida makes it straightforward to hook these checks and modify their behavior at runtime.
-
TLS Verification Bypass: Flutter’s use of BoringSSL means standard certificate pinning bypasses don’t always work. Patching the native
ssl_verify_peer_certfunction in memory is often necessary. -
Network Interception Workarounds: Sometimes apps don’t respect system proxy settings. When standard proxy configuration fails, iptables can be used to force redirect traffic at the network layer. This is especially useful when you have root access on the device.
-
Combining Techniques: Real-world mobile security analysis often requires chaining multiple techniques - static analysis to understand the app, dynamic analysis to bypass protections, and network interception to analyze traffic.
The combination of static analysis (to understand the app structure) and dynamic analysis (to bypass protections) is powerful. Frida’s ability to hook both Java methods and native functions makes it an essential tool for mobile security research.
Tools Used
- Frida - Dynamic instrumentation toolkit
- JADX - APK decompilation
- mitmproxy/Burp Suite - Network traffic interception
- iptables - Network traffic redirection (when standard proxy doesn’t work)
- ADB - Android debugging
This was a great learning experience in mobile app security. The challenge demonstrated how modern mobile apps implement multiple layers of protection, and how tools like Frida can help security researchers analyze them.
For more such writeups, you can follow me on Twitter.